If you love creative wall decor and want to display your pictures and art but are on a budget, we’ve compiled some of our favorite DIY photo and art wall displays. Whether you have memorable prints from companies such as Instapainting or your own art pieces, these wall ideas are sure to be equally creative as they are affordable and easy to make.
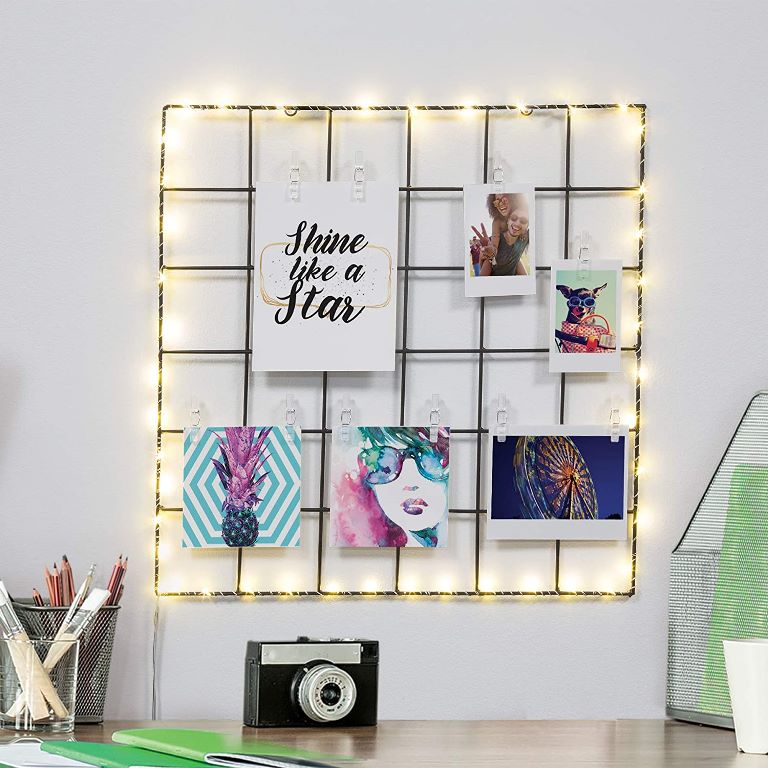
Light up Your Wall
Using light as an element for your wall decor is a quick and affordable way to give your space an enchanting feel. You can use anything from battery powered string lights to fairy lights to give your pieces a glowing frame.
If you want to give your wall a personalized touch with pre-made cardboard letters, you can also create a DIY marquee wall art for a vintage, neon sign aesthetic.
Grid Panel Gallery
A grid panel makes it easy to clip your art or photos and arrange your wall to your heart’s content. If you cannot attach it to the wall, you can prop it onto any surface, and it will look just as good. A standard grid panel is lightweight, affordable, and ideal for those who love to print and add new photos every day.
Clip Art
Clipboards are not limited to the office. For a quick frame, simply clip your work onto clipboards that are proportionate to the image.
If clipboards are too reminiscent of office life, you could also opt for hangers that clip, or set up a clothesline and hold your photos with clothespins. It’s a simple and efficient way to showcase your work and can be adjusted as you grow your collection.
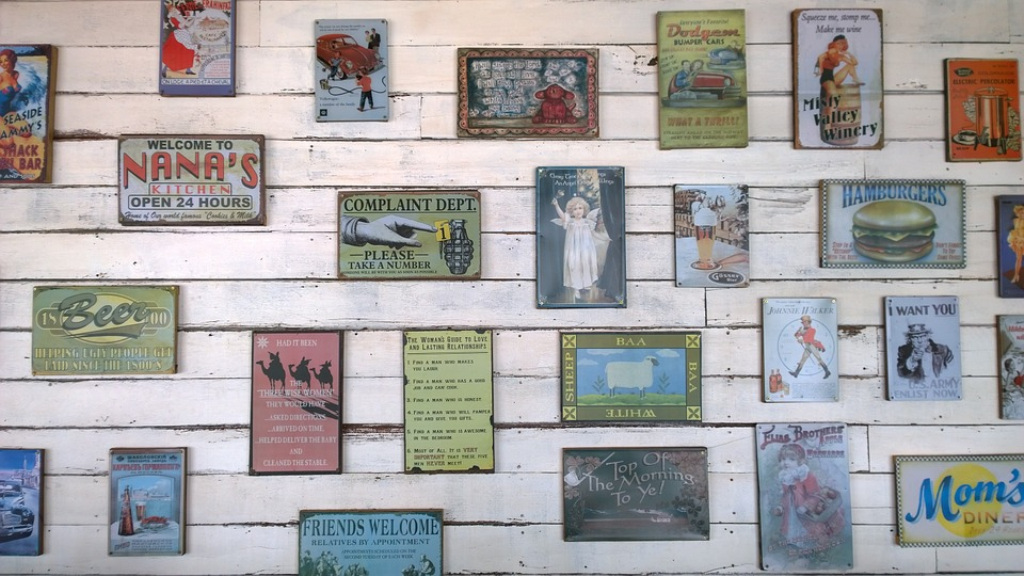
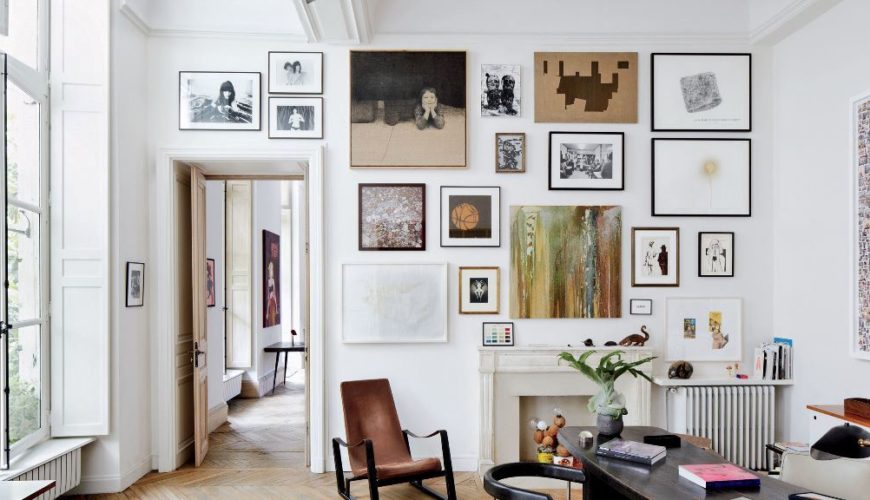
The Bigger Picture
If you want to impress with minimum effort, your own photos and art can be arranged to create an intricate design that will revamp your space. Create a collage, make puzzle pieces, or split one image into various panels to add dimension to your wall. Let your creativity take over when you use photos as a medium for your wall art.
Mix and Match Your Mediums
Your wall art doesn’t have to consist of only one type of decor. Create a coordinated design by matching your art and photography, and add other props and keepsakes that will compliment your wall.
If you’re unsure where to start, find a recurring pattern or color scheme that best reflects your preferences and the main attractions in your gallery. For instance, if your photography focuses on nature, add organic elements and plants to extend the environmental theme.
Create a Background
Instead of sticking your work straight onto the wall, what if you created a unique backdrop? It can be anything from a colored paperboard to something sturdier like a corkscrew board. If you want a simple way to bring it all together without a background, find a material that will wrap around it as a frame for your wall project.
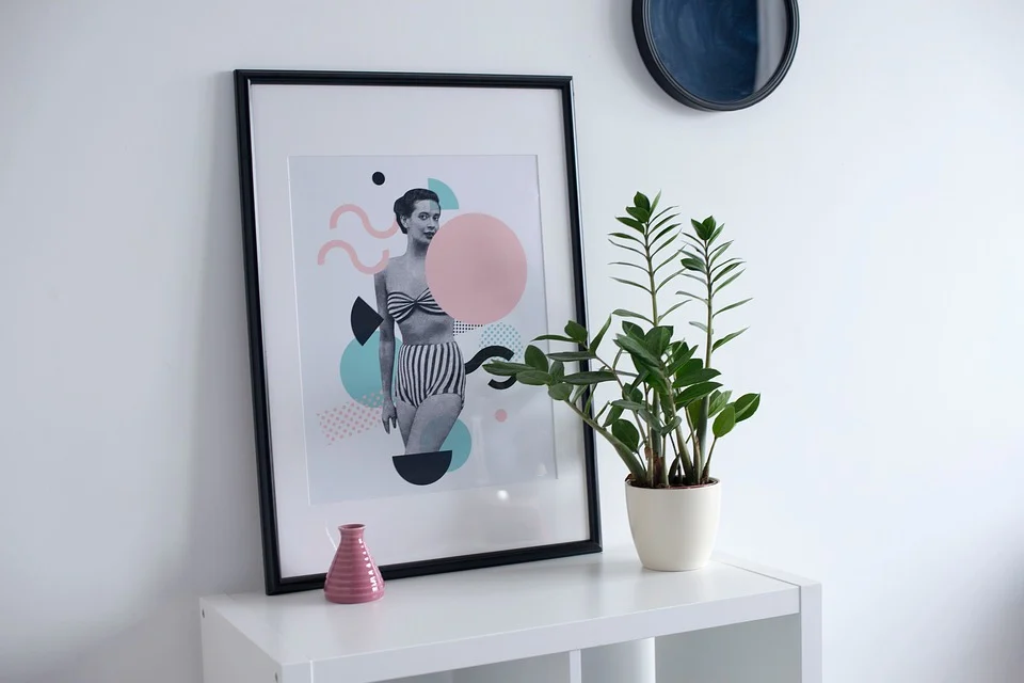
Keep it Casual
Sometimes it’s best to keep it simple by letting it lean. If you’re not thrilled with the idea of handling sticky tape, glue, nails, clips, or have empty shelf space, consider leaning it instead. This method is ideal if your space is rental and doesn’t allow you to make any modifications.
If you don’t have any shelving, create a new surface space. You can create some by stacking books or building shelves with wood, recycled boxes, and other containers. Add a few coats of paint, add a finish, and then arrange it in the pattern you want. Not only can it display your art and photography, but it can also house other decorative items such as plants and souvenirs.
Wall Art on a Budget
By now, you likely have a good idea of how you want to jazz up your interior decor. As far as DIY projects go, you can use these and many more ideas for inspiration. The important thing is to have fun and use your imagination. Before long, you’ll have an affordable DIY display to showcase your art or photos.


